How To Choose A Camera For Bird Photography

Choosing a camera for bird photography is a snap if you’re a sturdy millionaire who can spend as much as you like and can lug around a tripod and heavy camera and lens. But you don’t need to be either sturdy or rich to find a camera that does a great job. What should you look for?
If you already use a spotting scope in your birding and are proficient with it, all you need is a smartphone and an adapter that couples your phone model with your spotting scope eye piece. Google “digiscoping adapter for cell phone” and you should find a company that sells an adapter to fit your specific equipment.
The least expensive camera type for bird photography is an extended zoom model. These lightweight, compact cameras can take surprisingly good shots of birds as long as they allow you to focus on a small center point and take the shot the moment you fully press the shutter release button. Birds don’t hold still as long as scenery, so if the camera doesn’t respond quickly to your click, you’ll lose a lot of bird shots. And if you can’t easily control the point on which the camera focuses, it’s much more likely to focus on a single blade of grass or branch in the foreground than your bird. These are the two most important issues to focus on when comparing models.
Virtually all professional nature photographers use a digital single lens reflex (DSLR) camera body with a fairly long lens. Most camera companies offer inexpensive models as well as pricier ones, and some bodies come with a “kit lens” (a fairly inexpensive lens sold with the body in a “kit”). It’s possible to get reasonably good bird photos with a 300 mm lens, but 400 mm is an overall better choice. Make sure your system has “image stabilization” to avoid blurring from hand-holding your camera unless you want to keep it on a tripod (which makes it harder to get a quick shot when a sudden opportunity arises).
A good camera store or most big box and department stores will allow you to test models. Bring a photo of a bird to photograph in the store for direct comparison between models. Again, you need to ensure that the camera takes the photo the moment you press the shutter release button, and that it can be set for a center adjustment focus point.
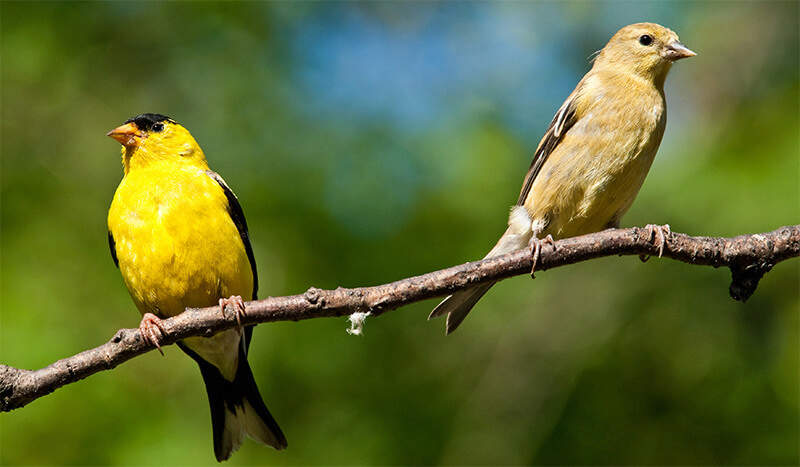
When you focus on an actual bird, rather than a picture of one, always try to focus on the bird’s eye. What if the eye isn’t in the center of the picture as you want to take it? Most cameras allow you to focus on a point by pressing the shutter release button halfway, and then to compose your shot before pressing it the rest of the way. Make sure before you buy, that the model you’re looking at allows this.
Even with ideal equipment, there is a learning curve to bird photography, and the more photos you take, the better you’ll get. To make the challenges less frustrating, start out by photographing non-moving items, and then graduate to birds at a feeder or birdbath. As long as you’re certain your camera focuses properly and shoots instantly when you press the button, stick with your camera and keep practicing.
The best thing about digital photography is how easy it is to delete the bad pictures while saving the best ones. In the case of bird photography, practice really does make perfect.


