


Pennington Rackmaster
Pennington Seed is proud to offer seed to improve your wildlife habitat. Our varieties and various mixes have been field tested for many years and are the finest products on the market today.-
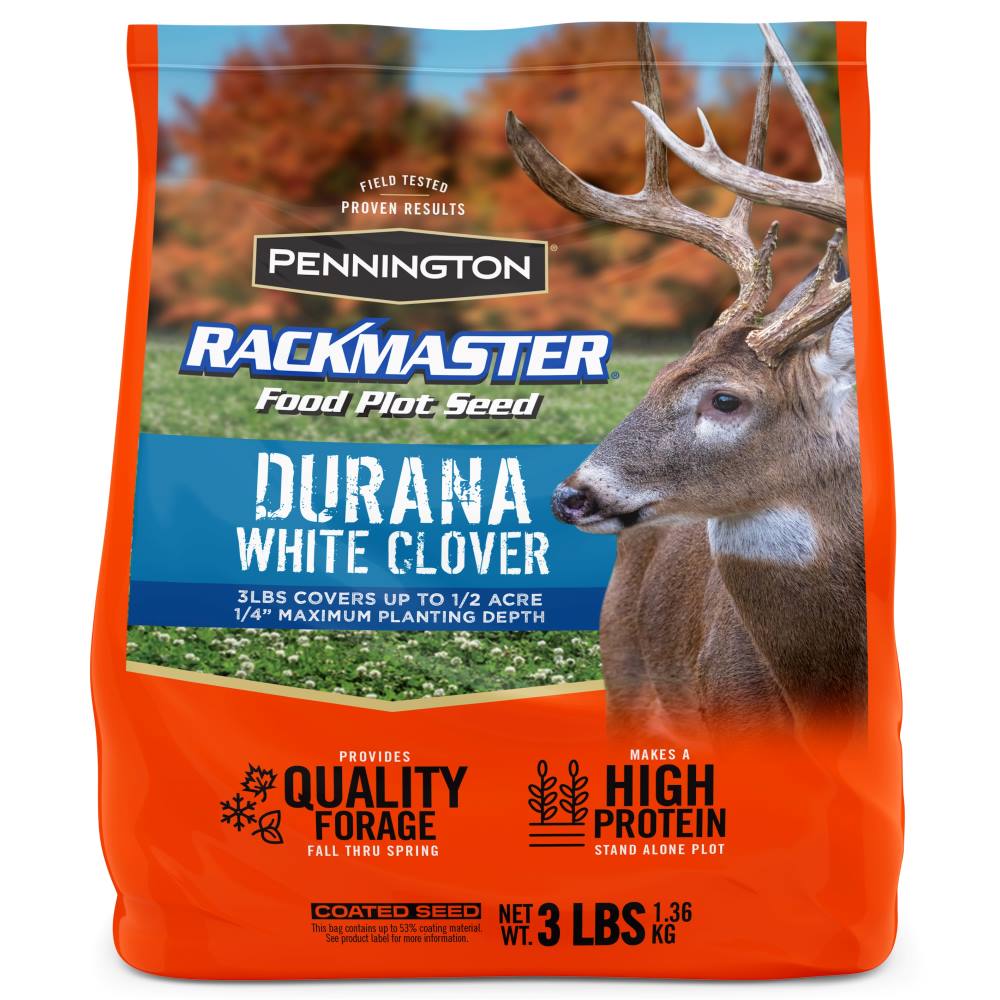
Rackmaster Durana White Clover
RACKMASTER Durana White Clover is the top-performing perennial clover for food plots for deer, turkey, and other wildlife.
-
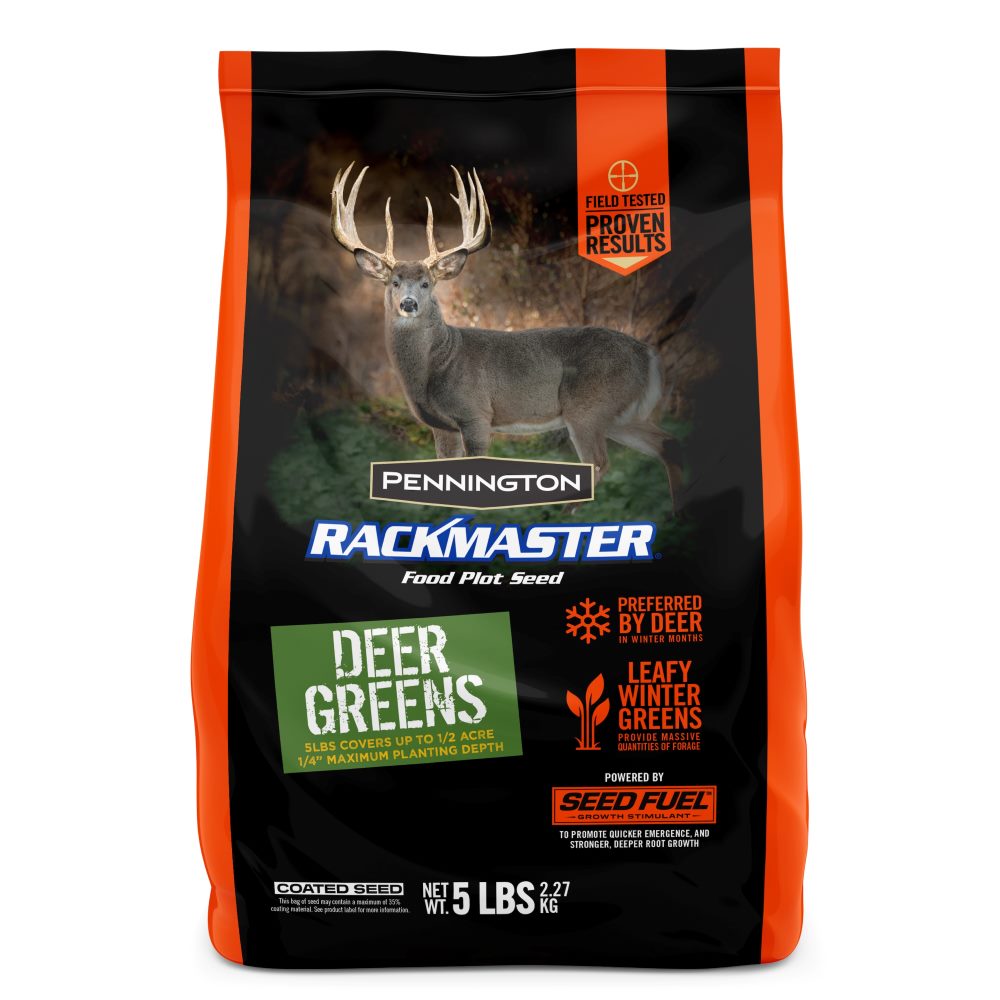
Rackmaster Deer Greens
RACKMASTER Deer Greens is a powerhouse deer food plot seed made from a 100% brassica blend chosen for their high-protein, energy-rich forage and exceptional winter performance.
-

Rackmaster Trophy Radishes
RACKMASTER Trophy Radishes are a fast-growing, high-yielding deer food plot seed designed to deliver unmatched forage and soil benefits.
-

Rackmaster Clover Trio
RACKMASTER Clover Trio is a high-performance deer food plot seed blend made from 50% annual clover (crimson) and 50% perennial clovers (medium red and intermediate white).
-
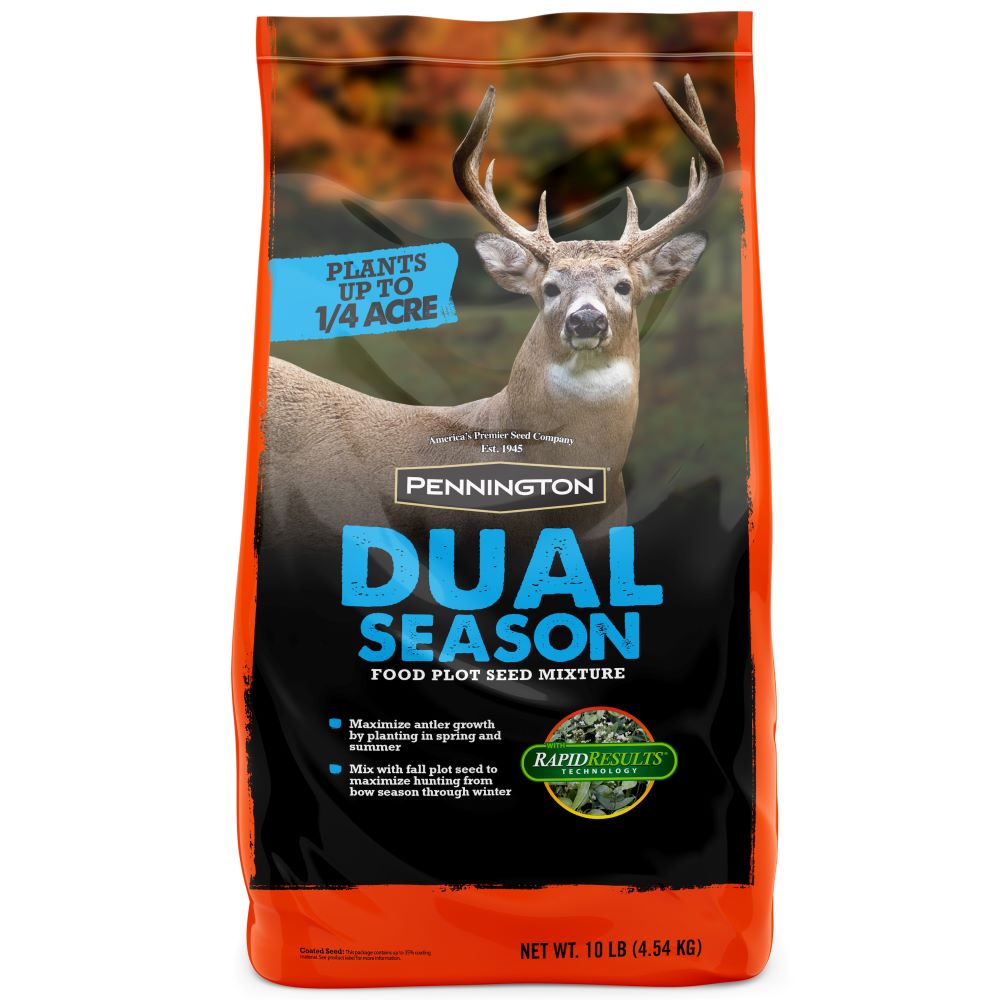
Rackmaster Dual Season
RACKMASTER Dual Season is a premium deer food plot seed mix designed to provide fast-growing, protein-rich forage from spring through early fall.
-

Rackmaster Feeding Frenzy
RACKMASTER Feeding Frenzy is a premium deer food plot seed mix designed to attract and hold whitetails throughout the entire hunting season and beyond.
-
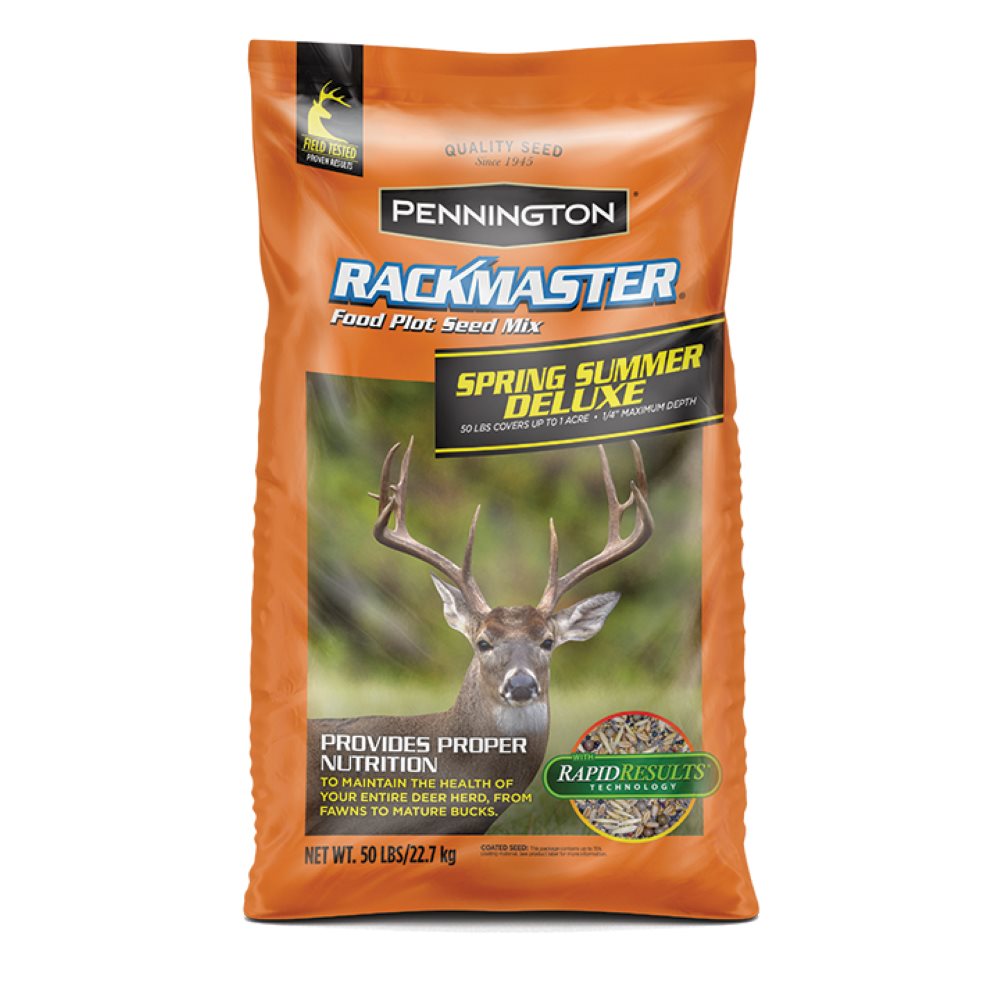
Rackmaster Deluxe Spring Summer Mix
RACKMASTER Spring Summer Deluxe Deer Mixture is specifically formulated with forages and grains that meet the high energy and protein needs of deer during the summer and early autumn seasons.
-

Rackmaster Mississippi Complete Mix
RACKMASTER Mississippi Complete seed blend contains a highly preferred mixture of small grains and Annual legumes that attract and hold deer from fall through late spring /early summer.